
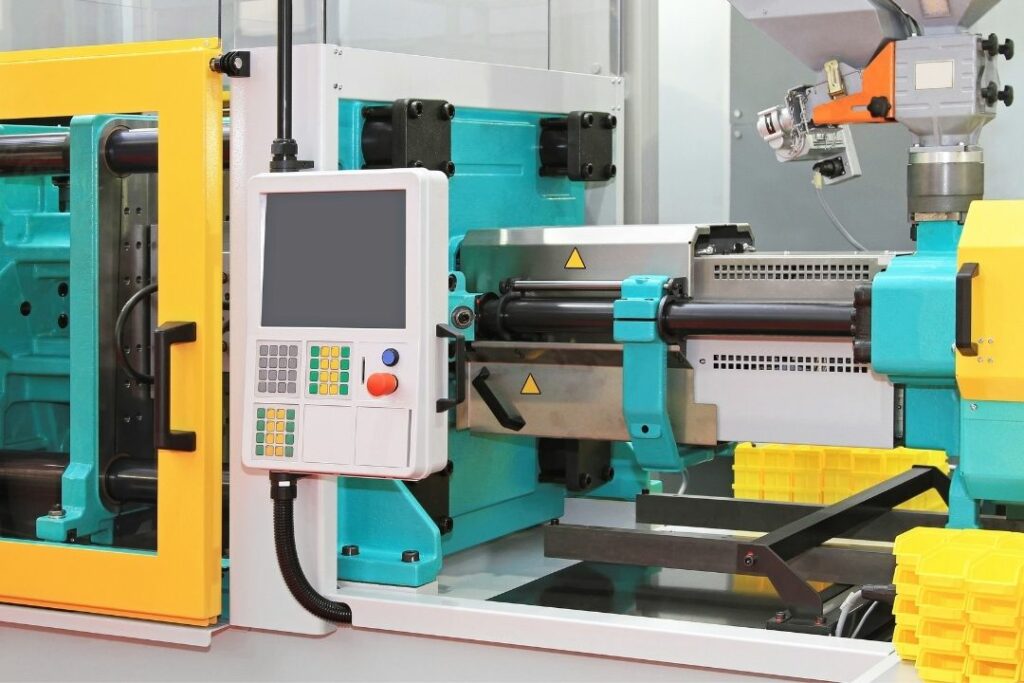
Injection molding can be a tricky process. Errors can be costly and affect your bottom line. Follow this simple injection molding machine troubleshooting guide to find out what’s causing your errors and how to fix them for good.
There are many advantages and disadvantages to injection molding, but you need to do it right. These key errors indicate something is wrong with your injection molding process.
Flash
Flash occurs when material seeps out from the split line of the product and as a result leaves behind a noticeable seam. The speed at which the material contacts the mold wall usually causes flash. High-contact speeds cause the cavity pressure to increase at the end of the molding process, and the mold will begin to separate, causing flash. When the injection pressure overpowers the clamping force, flash occurs. Adjust your switch-over point until you get the right final product.
Gassing or Venting
Gassing or venting occurs when the air improperly escapes from the tool, leaving a defect in your part. Errors in venting, moisture in the material, or high injection speeds or pressures can cause gassing or venting.
Try increasing the molding pressure to see if this solves your problem. You can also try using a material with lower viscosity. If that doesn’t work, try cleaning the existing vents or creating a mold with more venting to see if your problem improves.
Part Distortion
Part distortion occurs because of material temperatures, cooling temperature, or cooling time. If you have a distorted part, try adjusting the temperatures of your material and see if your problem resolves itself.
Make sure the cooling process is gradual by lowering the temperature of the mold or the material. You can also try using a material that shrinks less for the product. If that fails, redesign the product with uniform wall thickness.
Short Molding
Short molding occurs when a part fills improperly. Incorrect temperatures, holding pressures, or injection pressures can cause short molding. Try adjusting your temperature or pressure to see if you can get your part to look right. If this doesn’t work, try cleaning the vents on your mold to see if your problem improves. If all else fails, try redesigning the mold with wider channels.
Flow Marks
Flow marks do not affect the functionality of a product, but for consumer products, they can look aesthetically unacceptable. Variations in the cooling speed of a product, variable wall thickness, and slow injection speeds cause flow marks.
You can fix flow marks by increasing the injection speed, pressure, and material temperatures. If this doesn’t work, you can round the corners of the mold and relocate the mold gates. You can also increase the nozzle diameter to improve the flow of material.
Sink Marks
Sink marks are small depressions that occur in thicker parts and parts with variable wall thickness. Sink marks are a normal part of injection molding machine troubleshooting. They will generally occur at the thickest part of the walls on a given product. Try increasing the pressure and cooling time. You can also design your mold with a thinner wall thickness.